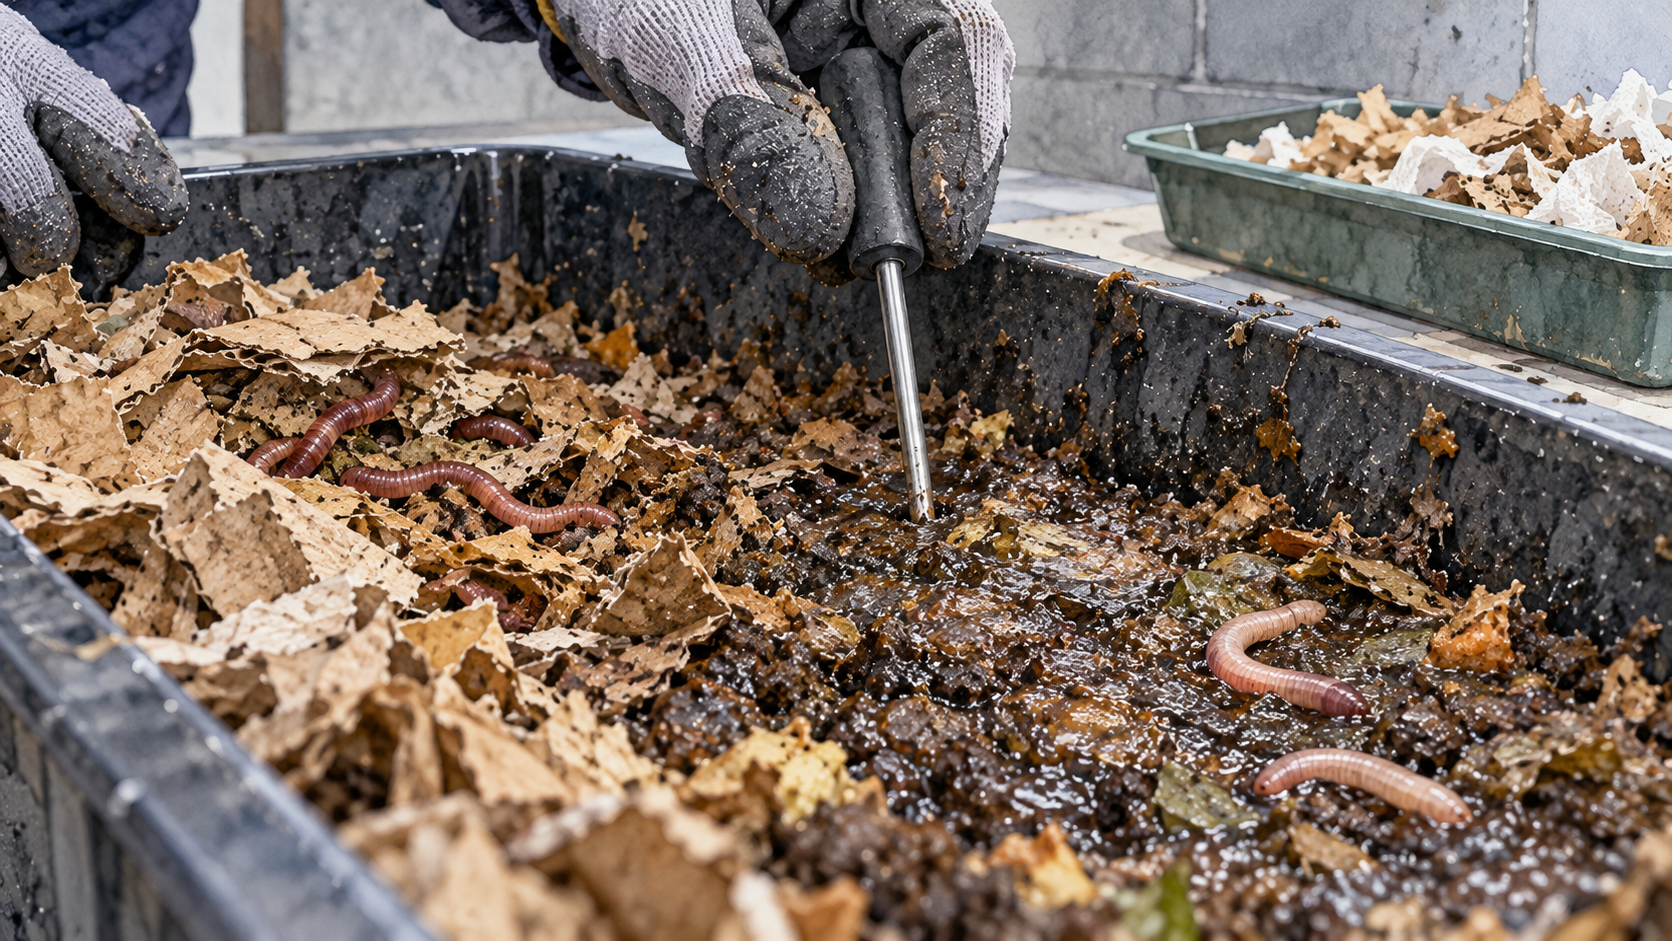
Composting worms usually begin dying when their bedding becomes too hot, too dry, waterlogged, short of oxygen, or contaminated with unsuitable material. Heavy feeding can make several of these conditions happen together: scraps decompose faster than the worms can process them, pockets of bedding turn airless, and a concentrated feeding layer may heat up or release irritating decomposition products. If several worms have died at once, stop adding food and check the bedding itself before replacing the colony.
A few dead worms do not establish that a worm farm is failing. What matters is the pattern: where the worms are found, what has recently changed, whether live worms remain active in undisturbed areas, and whether the bedding is still suitable. The investigation below concerns managed composting species, particularly red wigglers (Eisenia fetida), rather than earthworms found in ordinary garden soil.
Mass mortality requires different action from worms trying to leave. Begin with the inhabited bed’s temperature, possible flooding, and any contaminated materials.
What to Do Immediately When Composting Worms Are Dying
A sudden die-off calls for a short, careful assessment rather than an automatic full-bin cleanout. Start by putting new food, manure, soil amendments, and other additions on hold. Move the bin out of direct sun or a freezing location if necessary, while avoiding another abrupt temperature extreme. Wear gloves when handling decomposing waste, keep the work area clean, and wash your hands afterward.
- Check internal temperature. Place a suitable probe in the bedding, especially near a recently added feeding layer. Check more than one location in a large bin. A cool room does not guarantee a cool center.
- Look for standing water and compressed bedding. Water pooled beneath the feeding layer or a slimy, densely packed mass suggests the worms may have too little oxygen. Check that drains are not obstructed.
- Look for very dry material. Dry, papery bedding throughout the worm-occupied zone is an urgent problem too. Use a fine mist of water and add premoistened bedding gradually rather than pouring in a large amount.
- Inspect recent additions. Note any large feed deposit, hot or fresh manure, grass clippings, unfamiliar coir or compost, seasoned food, chemically treated material, or change in water source. Remove obvious suspect material carefully.
- Assess survivors. Check a small undisturbed patch for living worms and whether they move into damp, loose bedding. Avoid repeatedly spreading all worms into bright light, sunlight, or dry air.
When the existing bed is visibly hot, waterlogged, contaminated, or otherwise incapable of supporting survivors, transferring only live worms to a separate container of clean, gently moistened, loose bedding may be the safer temporary measure. Do not bring the suspect feed or old bedding into that refuge. Keep it shaded, aerated, and within an appropriate temperature range. Handle only what is necessary, and do not put rescued worms into sunlight or onto dry sorting surfaces. A transfer is a rescue step, not proof that the underlying cause has been identified.
These checks address the recurring causes of worm loss documented in worm-bin troubleshooting guidance, including moisture extremes, unsuitable temperature, inadequate air and excessive food. They are an inspection order, not a diagnosis or a guarantee that every colony can be saved.
Read the Pattern Before Choosing a Fix
Several causes can produce the same visible outcome. The clues below are prompts to investigate, not a way to diagnose a specific toxin or disease from appearances alone.
| Observation | Conditions to investigate | First reasonable action |
|---|---|---|
| Dead worms concentrated beside new food or manure | Local heat, overfeeding, low oxygen, ammonia or unsuitable feed | Remove the recent addition; check temperature and nearby bedding |
| Worms found in a saturated, compacted bottom layer | Standing water and poor oxygen supply | Protect survivors; improve drainage and restore loose bedding |
| Dry, papery bedding and worms concentrated in remaining moist pockets | Moisture loss and hot or overventilated placement | Rewet gradually with a mist and premoistened bedding |
| Deaths after a hot afternoon, or in a thick grass/manure pocket | Heat from sun, surroundings, or microbial decomposition | Check internal heat and move survivors out of dangerous material |
| Deaths begin after a new supply of bedding or scraps | Salts, inappropriate chemicals, decomposition products, or other contamination | Stop the new input and keep samples or packaging for investigation |
| Decline in an old bin with almost no loose bedding left | Loss of suitable habitat or available food | Offer survivors a fresh, suitable bedding refuge; assess the depleted bed |
A rotten or ammonia-like smell increases concern about decomposition conditions, but odor is not a chemical test. Its absence does not rule out heat, dryness, oxygen shortage, or contamination. Likewise, finding dead worms under a recent feeding layer suggests that layer deserves inspection; it does not prove which factor harmed them.
Temperature Can Kill Worms Even When the Room Feels Comfortable
For red-wiggler bins, routine conditions around 55–77°F (13–25°C) are a commonly recommended working range. That is not a universal survival boundary: tolerance varies with species, duration of exposure, moisture, and whether worms can retreat to a safer part of the bed. Temperatures approaching 90°F (32°C) are dangerous, especially with prolonged exposure, and freezing can kill exposed worms. The internal temperature matters more than a thermometer hanging elsewhere in the shed.
The temperature inside a worm bin can differ from the surrounding air. A recently filled box can heat internally as microbial activity accelerates, even in shade. In larger farm bins, bedding and feedstock may create warm pockets that a single edge measurement misses. Inadequately aged bedding and readily decomposable feed can produce enough heat to kill earthworms, particularly when added in a concentrated mass.
If the bed is hot, stop feeding, remove the hot new material when it can be done without mixing it through the colony, and move surviving worms into a safe, shaded environment. Oklahoma State’s vermicomposting guidance explains that persistent excessive bed heat can kill red wigglers. Do not dump ice directly onto the worms or flood the bed in an attempt to cool it. Heat management is not a one-time rescue if the same feedstock continues to decompose intensely.
Too Much Water Can Become an Oxygen Emergency
Worms require moisture, yet wet bedding is not automatically healthy bedding. Water occupying the air spaces between particles reduces oxygen availability; densely compacted material makes exchange worse. An occupied tray can therefore have oxygen-poor patches without being literally full of water. Excess moisture and feeding can deplete oxygen in an earthworm bed; when oxygen is unavailable, the worms cannot survive.
Lift a small handful from several depths. A properly damp, loose mixture should hold moisture without dripping continuously or forming a sticky, airless lump. If liquid is pooling, protect the worms, remove excess water where possible, and introduce clean absorbent bedding with minimal disturbance. Check vent openings and drainage paths. Simply drilling extra holes will not repair a submerged bottom layer unless water can actually leave the system.
Too little moisture presents a different threat. If bedding has dried throughout, bring it back to a consistently moist state by misting and adding damp paper or cardboard in stages. Avoid soaking a dry, compacted bed all at once, since water can channel through without wetting every area. Too wet and too dry require opposite corrections, as the NCAT troubleshooting recommendations explain; adding water to an already oxygen-poor bed can worsen the situation.
A bin that has become severely flooded needs more extensive treatment than this general mortality investigation. The immediate priority here is recognizing a potentially oxygen-poor environment and protecting survivors.
Feeding Problems Can Trigger Heat, Air Loss, and Harmful Decomposition
Overfeeding does not ordinarily injure worms because there is merely “too much dinner.” The problem is what happens to food that decomposes faster than the colony and its microbial community can process under suitable conditions. Thick deposits of soft scraps can stay wet and compacted; microbial activity can consume available oxygen or generate heat. Rich, nitrogen-heavy materials may also release ammonia during breakdown.
Fresh livestock manure is a special concern on farms. Some aged or appropriately processed manures are used as earthworm feedstock, but that does not make a newly delivered, still-heating batch safe for direct addition. Poultry manure is especially unsuitable as an unqualified replacement for ordinary bedding because of its nitrogen and mineral content. Manure that has been properly conditioned for earthworms is different from fresh, concentrated waste. The risks of excess nitrogen, minerals and heating feedstocks are particularly relevant when a farm transfers material from its livestock areas into a worm bed. Other rich additions, including thick grass clippings, can also heat as they break down.
Remove the obvious excess, pause feeding while assessing the bed, and provide fresh bedding if structure has collapsed. Once conditions are stable and survivors are active, resume only modest portions that can be observed for decomposition. Long-term feeding amounts and schedules depend on the living population and the materials being processed, not on a promise that each worm consumes a set daily weight.
Insufficient food or bedding can contribute to decline over time, especially after a long period without maintenance. It is a weaker explanation for a sudden mass death in a recently well-fed bin than a serious physical or chemical habitat problem. Worms can survive extended periods without newly added food when moisture and temperature remain suitable, although their reproduction may slow. Investigate environmental conditions first rather than feeding heavily as an emergency response.
Could Contaminated Bedding or Feedstock Be Responsible?
A cluster of deaths following the introduction of unfamiliar materials deserves particular attention. Possible hazards include chemically treated soil or plants, cleaning residues left in a reused container, high-salt inputs, or bedding that decomposes into unfavorable compounds. EPA’s indoor worm-bin instructions caution against soil containing harmful chemicals, while Oregon State’s construction and material guidance warns against containers previously used for toxic substances and chemically treated wood.
Salt is another reason to examine the input rather than guess from a worm’s appearance. A suitable red-wiggler environment has low salt and low ammonia levels. When newly introduced worms avoid unfamiliar bedding, salt levels and pH are possible factors worth investigating, alongside temperature and moisture. These are risk indicators, not a home diagnosis of a particular chemical exposure.
If a new material is suspicious, stop using it immediately. Set aside its label or source details and, when practical, retain a sample away from children, animals, and clean bedding. Avoid pouring vinegar, lime, detergents, pesticides, or other guessed treatments into an occupied bin. Such additions can make conditions worse or obscure the original problem. A local extension specialist or qualified testing service may be needed where contamination is suspected, particularly with farm manure, treated landscape residues, or an entire batch of purchased substrate. Never introduce replacement worms into a bed with an unresolved contamination risk.
When a Colony Declines Without an Obvious Disaster
A gradual decline can be harder to interpret than a sudden kill. A bin may have become nearly all compacted finished material with few fresh fibrous spaces, or feed availability may have fallen as the living worm population changed. That does not justify labeling all dark castings poisonous. It means the remaining living area may no longer supply the combination of structure, moisture, oxygen, and decaying material the worms require.
Check for juveniles and adults in a small sample instead of judging the whole colony by the top surface. A few living worms, cocoons, or decomposer organisms do not demonstrate that the original population is intact. Compare with previous observations if available. If the bed is depleted, give surviving worms fresh, clean bedding and appropriate food in a stable area rather than repeatedly turning the whole mass. A new colony may be unnecessary if a viable population remains, but there is no safe way to guarantee recovery from a visual check alone.
Also confirm you have a worm species suited to a confined surface-feeding system. Garden nightcrawlers and other soil-burrowing species may decline in a conventional worm bin because the habitat is inappropriate. The difference between composting redworms and ordinary garden worms matters when a newly acquired colony fails soon after arrival. Do not release an unidentified purchased colony into local soil as a disposal or rescue method.
How to Tell Whether the Bin Is Recovering
The next decision is not whether every worm survives, but whether the environment is again suitable for the living colony. A colony’s bedding, moisture and remaining food deserve another look when it declines, as reflected in Illinois Extension’s worm-bin questions. Avoid adding a large quantity of food to “test” it. Instead, confirm the following:
- The bedding temperature is stable and comfortable for the identified composting species, with no newly heating pockets.
- Moisture is present throughout occupied bedding, but the structure is loose and water is not collecting below.
- Fresh air can reach the bed, and decaying feed is no longer concentrated in a sour or hot mass.
- There is no continuing addition of suspected contaminated scraps or substrate.
- Surviving worms remain in the bedding and show normal movement during brief, gentle checks.
Watch the remaining worms over subsequent checks and restart feeding conservatively only after the bed has stabilized. If new deaths continue after apparently correcting physical conditions, treat the original material as suspect and seek local technical help rather than keep applying random additives. Disposal of questionable material should follow the nature of the suspected contamination; it should not automatically be spread around food crops.
What If Every Worm in the Bin Has Died?
A complete loss means the old bedding should not simply be reused with a new shipment of worms. Investigate the likely failure first, especially temperature history, wet or dry zones, recent feedstock, chemical exposure, and whether the container previously held anything unsuitable. If contamination cannot reasonably be ruled out, replace suspect bedding and clean the empty container appropriately for the materials involved. Use verified clean inputs for a fresh system. Replacing worms without changing the failed conditions risks a second loss.
Can a Worm Bin Recover After a Large Die-Off?
A surviving population may recover when temperature, moisture, oxygen, and food conditions are restored. The extent and speed of recovery cannot be judged reliably from the number of visible worms on one inspection. Check for continued deaths and stable conditions before deciding whether more stock is needed.
Does a Bad Smell Mean the Worms Are Already Dead?
A persistent rotten odor is a warning of decomposition or oxygen problems, not confirmation that the worms have died. Check for live worms in a relatively undisturbed section and inspect the moisture, feeding layer, and airflow. A bin may still be recoverable if action is taken before the remaining colony is harmed.
One thought on “Why Are My Composting Worms Dying?”